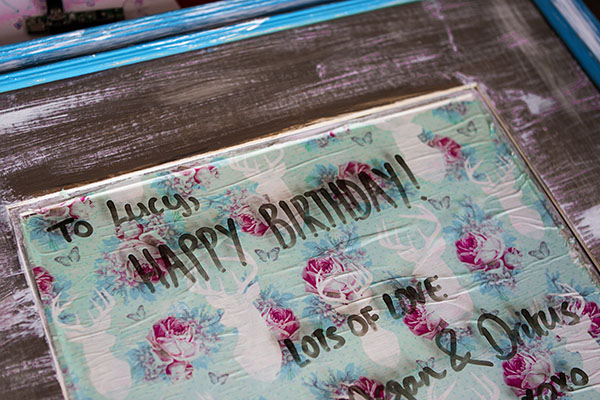
I’ve been wanting to try an up-cycled DIY project for a while now. We had a friends’ birthday on the weekend and I thought this is a great opportunity to make a personalised ‘hand made with love’ gift. Now that I’ve done it and know how easy is I’ll definitely be attempting some more challenging thrift store projects!
1. What you need:
– Thrift store frame (I got mine for under $10)
– Acrylic paint in the colour of your choice (I used blue and brown, with hints of white)
– Sandpaper
– Mod Podge
– Brush
– Ruler
– Wrapping paper for the detail in the centre of the frame
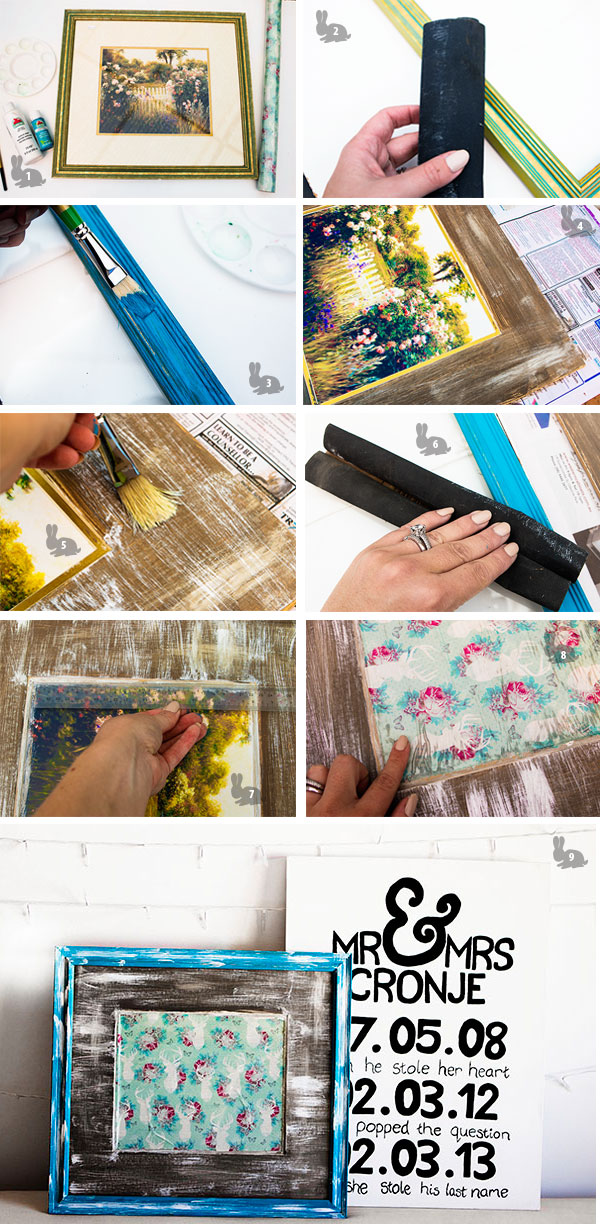
2. After removing the backing of the frame, use the sandpaper to gently sand the edges
3. Apply a nice thick coat of your base paint & let it dry
4. While the base coat of paint is drying, apply paint to the outer edge of the inner frame (if applicable)
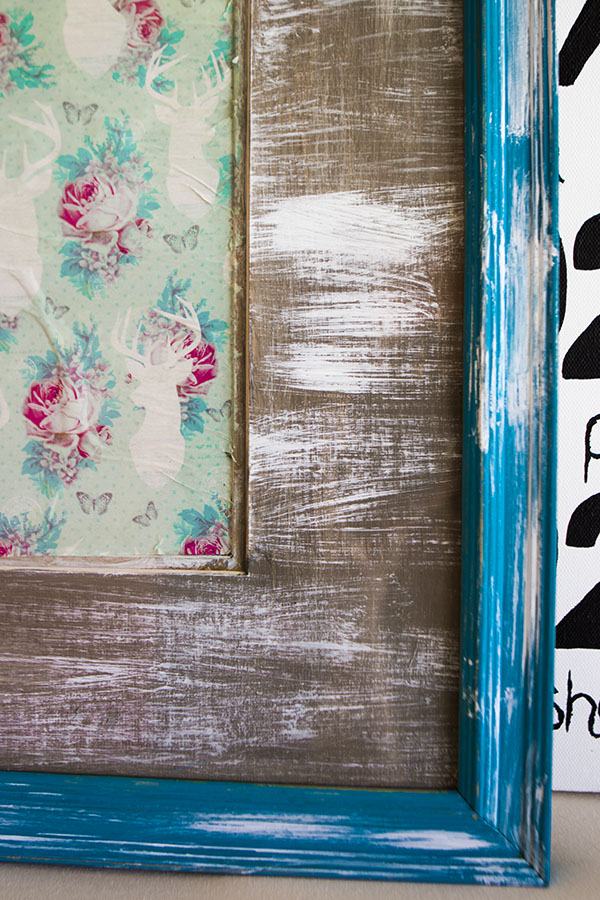
5. Using dry white paint, gently brush over the first layer of paint. This will create the ‘shabby chic’ look
6. Again, sandpaper the outer frame slightly and apply the dry white paint
7. Measure the height and width of the frame so you have the exact size that the wrapping paper will need to be (remember, measure twice, cut once!)
8. Use the Mod Podge to glue the wrapping paper over the original image of the frame
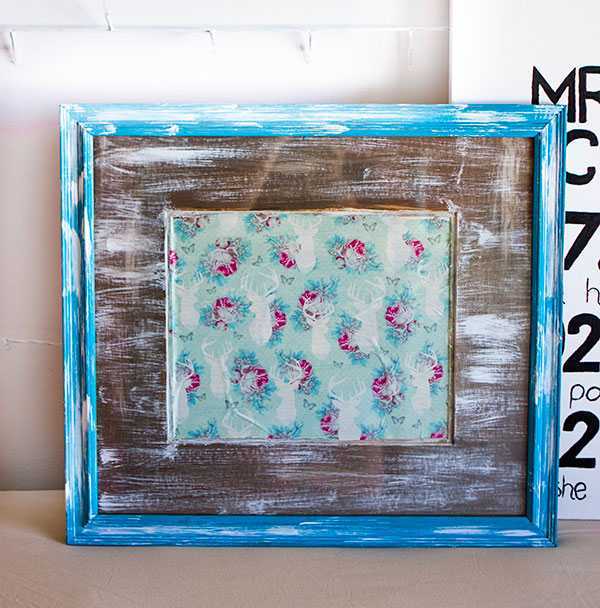
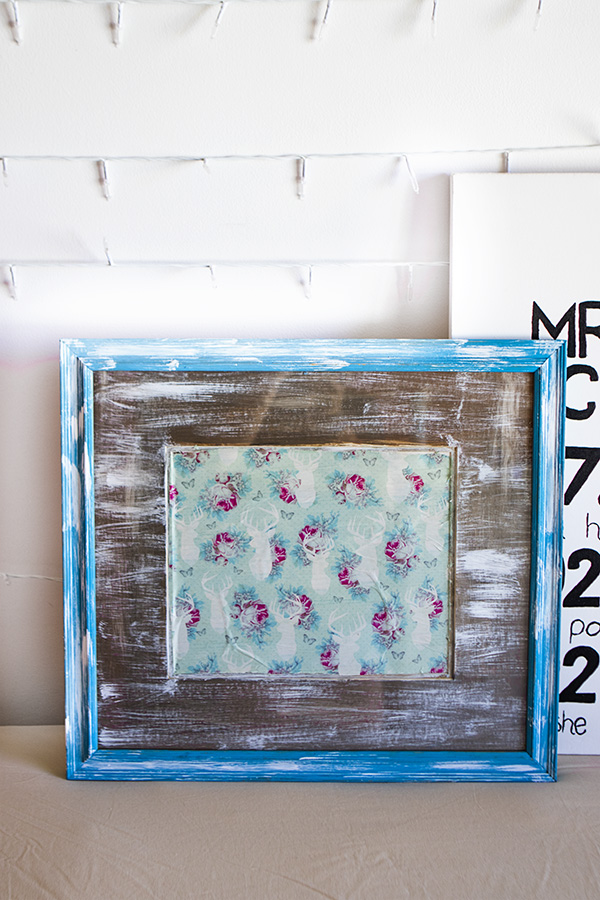
Let everything dry and then put it back in the outer frame. And it’s as simple as that. Now you have either a beautiful looking frame to hang up, or a handy dry eraser board to help you stay organised!
I was even thinking about replacing the wrapping paper with an actual photo to create a bold photo frame.
Craft away!
Please share your creations using #whiterabbitblog