
3 sleeps to Christmas!! Do I have time to squeeze in one more Christmas Post? Yes, it’s another Cookie recipe, I mean, if you’re gonna bake cookies, Christmas is the perfect time to do so – just like last year. These Christmas Fondant Cookies are pretty easy and fun to make! I am stoked with how they turned out.


————————————————————————————————-
INGREDIENTS

250g unsalted butter (softened)
1 cup sugar
1 egg
1 tbsp vanilla
2 tsp baking powder
3 cups flour
Ready to roll fondant
Food Colouring (Red and Green)
————————————————————————————————-
EASY CHRISTMAS FONDANT COOKIES
STEP 1
Preheat over to 180C or 350F.
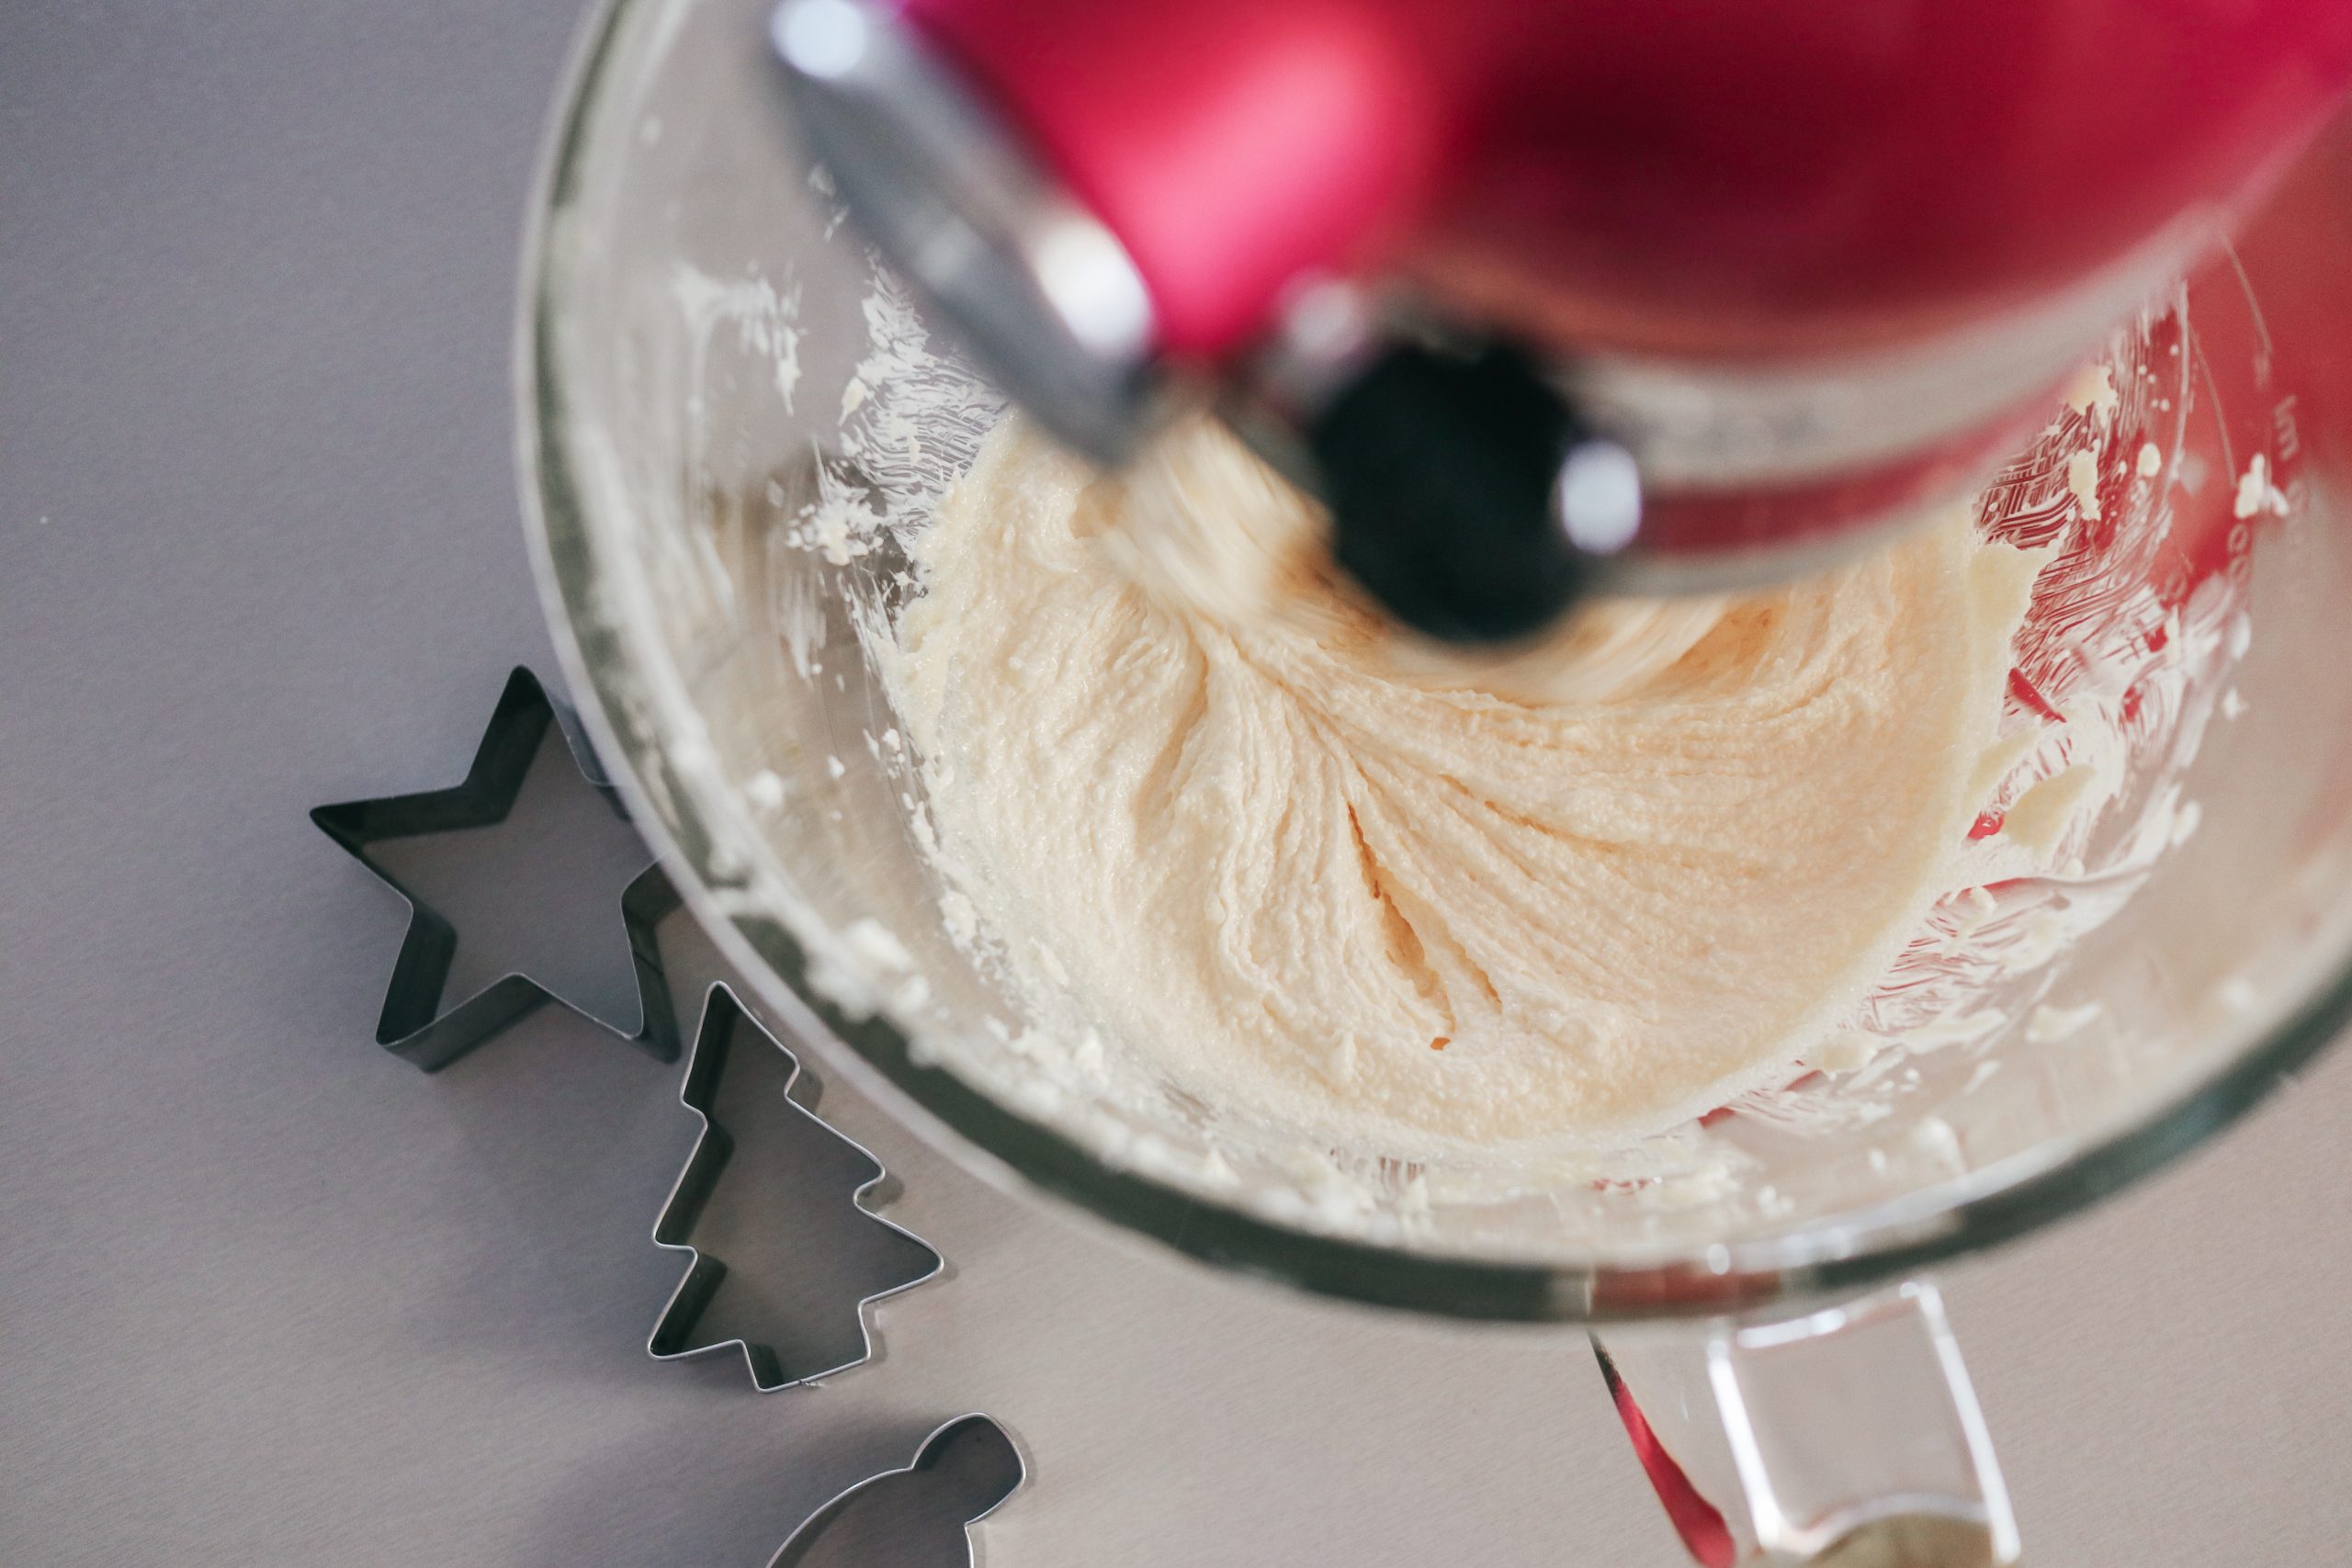
Add the butter and sugar to your mixer. Cream together until completely mixed. Do not over-mix. You want the batter to turn white
STEP 2
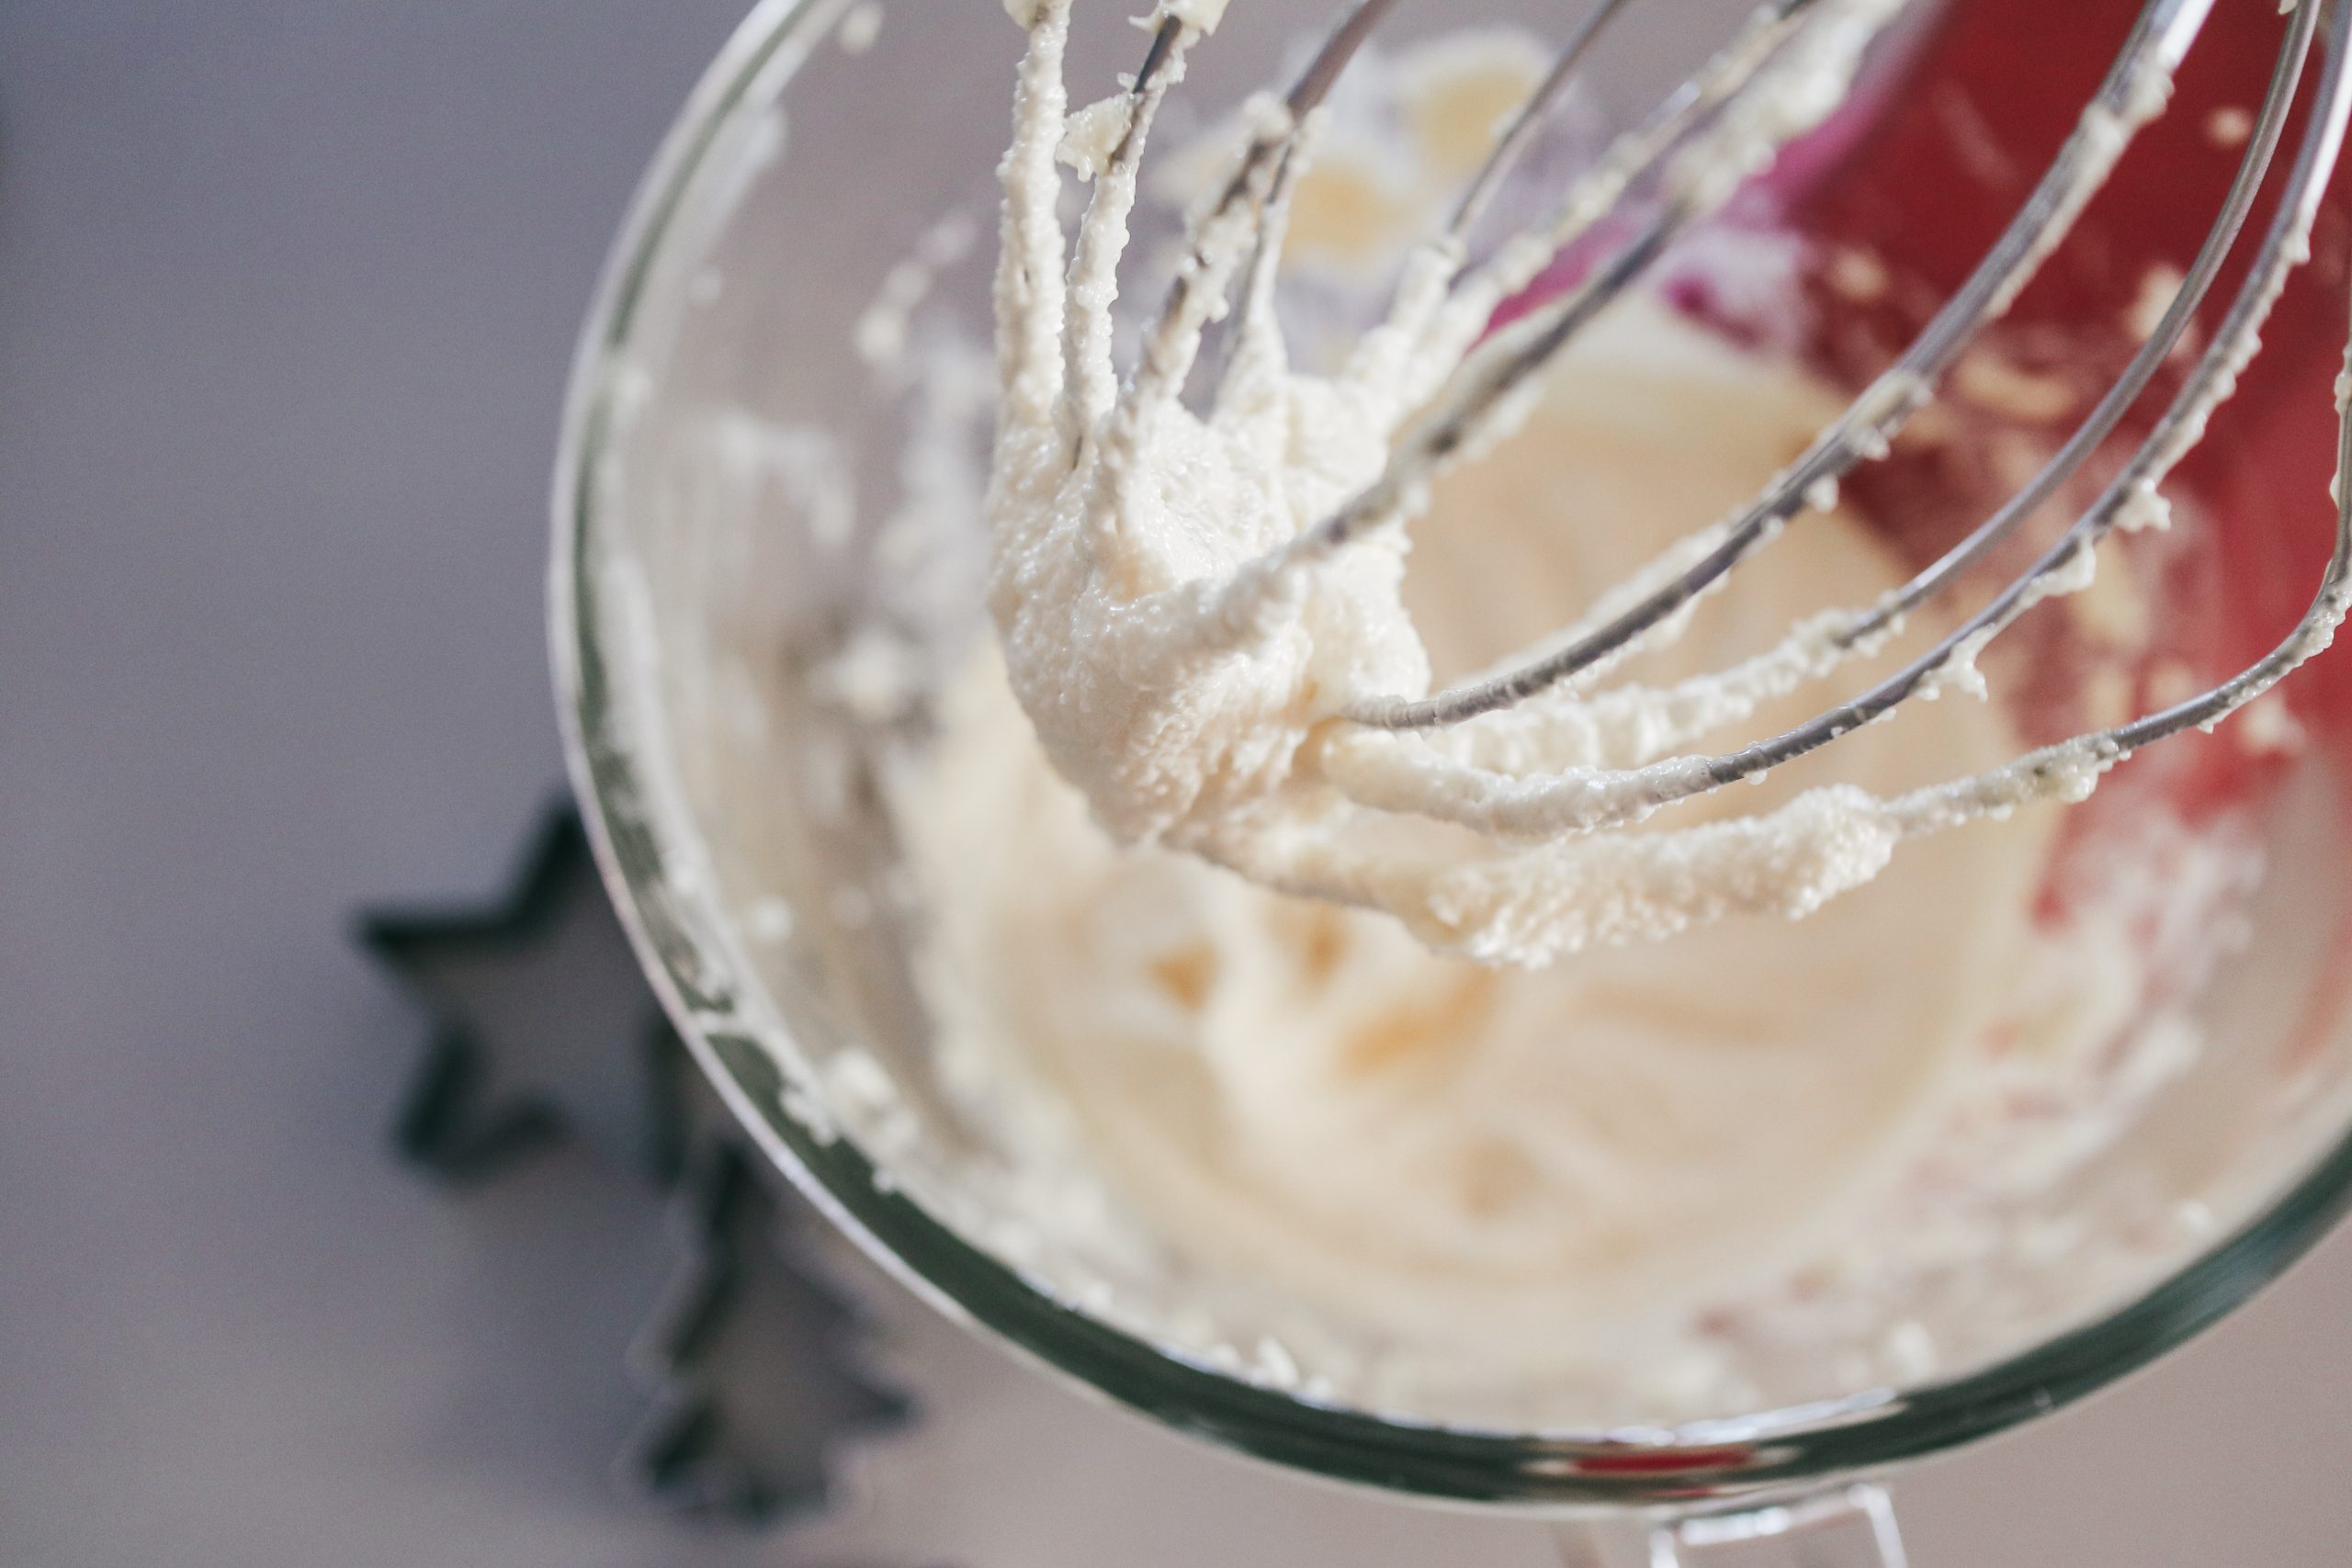
Add the vanilla and eggs to the mixture and mix until the dough is light and fluffy


STEP 3
Add the Baking powder and mix

STEP 4
Then mix in the 3 cups of flour, 1 cup at a time.

The flour should be completely mixed through and the dough should be firm but not dry or crumbly.
If dry: add a tiny bit of vanilla or milk and mix again
You don’t need to chill this dough before cutting the cookies, they come out best if the dough hasn’t been chilled! (Also, yay less time to wait!)


STEP 5
Roll a handful of the dough out on a clean, well floured surface until at the desired thickness
STEP 6
Cut out shapes with cookie cutters


STEP 7
Bake at 180C or 350F for 6-8 minutes, depending on the size of the cookie. Make sure you don’t over-bake them. You don’t want them to start browning at the edges – this causes them to seem dry.

STEP 8
Let the cookies cool completely on a wire rack and then you can decorate – yay!
STEP 9
I used fondant and red/green food colouring to colour the fondant and get a marble effect. If I’m being honest, in the future I would rather buy pre-coloured fondant, way easier and way less messy! So if you’re going to do this, do it that way!

If you prefer to use food colouring, then I highly recommend using gloves, because your hands WILL stain!


STEP 9
Roll your three colours into long worms, then lay them next to eachother. Then pick up all three, twist them round and round, and then fold in half. Use your rolling pin to roll flat, this will create a marbled effect.
Use your cookie cutters to cut out the shapes


STEP 10
If you have a letter stamp, add whatever sayings you’d like to add. I did “Merry Xmas, For Santa, Ho Ho Ho”
Once stamped, using you finger and a little bit of water, wet the back of the fondant, it will become sticky and you can stick it to the cookie.

That’s it! Keep in a air tight container until ready to eat!
I put mine in cellophane bags, with a little ribbon the length of Jasper and a gift tag that reads “This ribbon is very special you see, untie it and you will find it’s the same size as me” Can’t wait to give them to the grandparents!!


