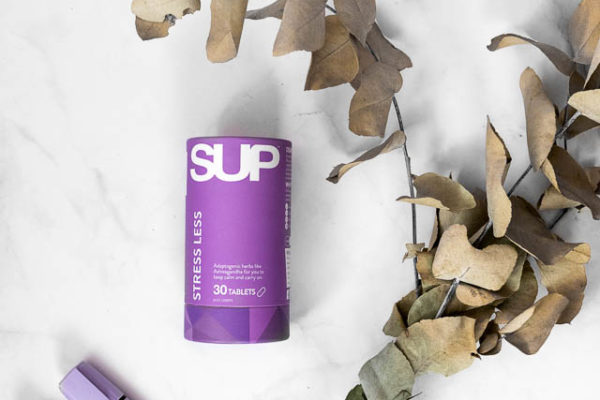
Instagram is famous for flatlay photos! Instagram and Pinterest are super visual platforms so it is no surprise that some of the most popular and well-performing photos are flatlays!
Today I want to share with you 3 simple tips to style your product photos in a flatlay style for Instagram.
1. Prop Styling for Instagram flatlay photos
a. Centre the hero product
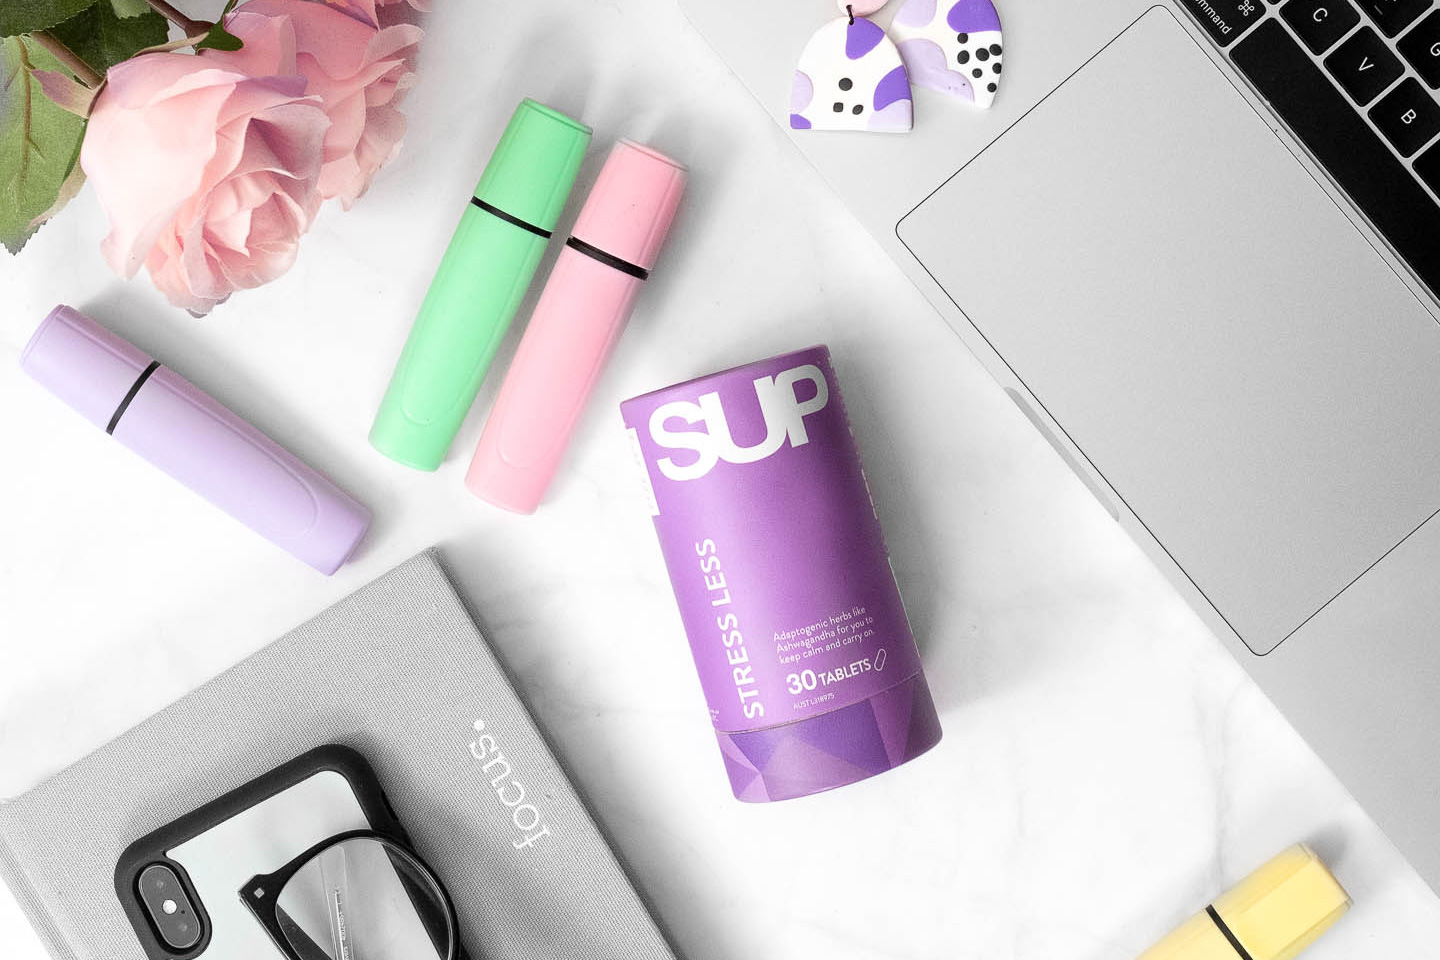
While a lot of props are the key to a great flat-lay, you always want to keep in mind that they should NEVER overpower the hero product.
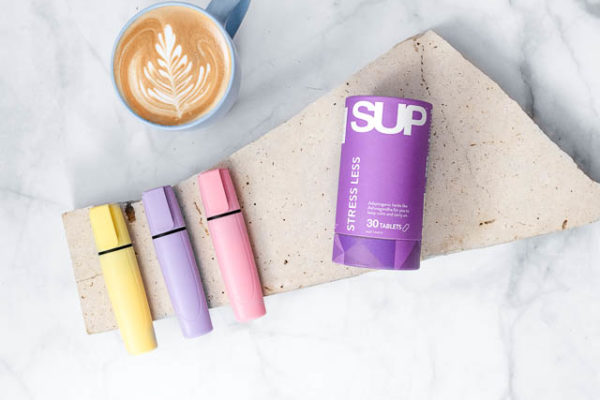
The hero product needs to stand out, and not become a prop in itself. A way to do this is to ensure that the hero product is in the centre of the frame rather than off to the side. Our eyes are then naturally drawn to it.
b. Overfill the frame
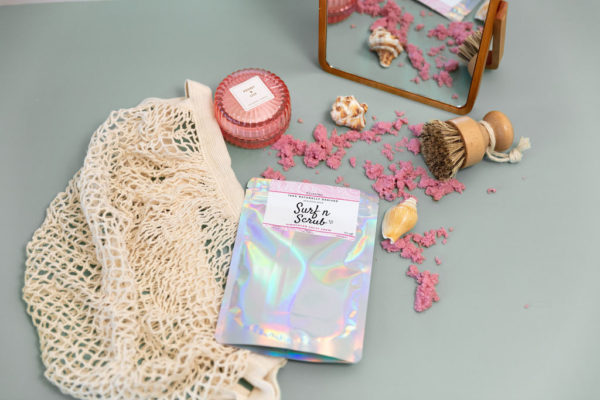
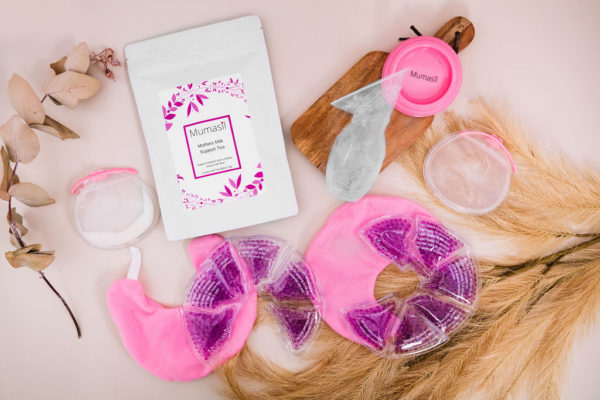
One of the biggest flatlay mistakes is props not overfilling the frame. You want the audience to feel like they are being invited into a much bigger picture or story, so use your props to frame image, and don’t be afraid of letting them spill over.
c. think about your lines
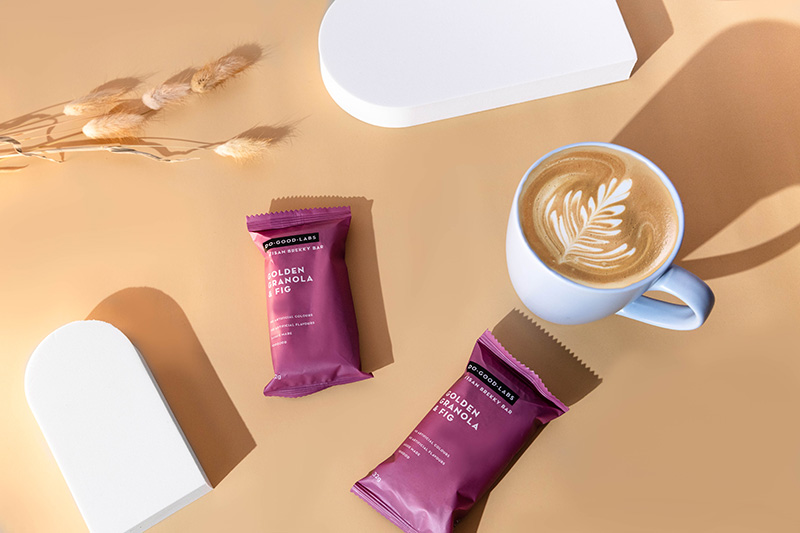
Straight lines in photography give a more masculine feel whereas curved lines tend to be more soft and feminine. Depending on the look and feel of what you are shooting, you’ll want to arrange your props accordingly.
d. layering
Another hack to adding depth and dimension to your flatlay is to layer your props. Rather than scattering them all over the backdrop, think about what you can layer on top of each other. For example, glasses can go on top of a book rather than next to it.
You can also add height to your flatlay by incorporating taller props such as flowers in a vase. These can completely change the look and feel and make for a more interesting image.
e. texture
Sometimes adding texture to your flatlay such as a tablecloth or towel can add an extra dimension and help to tell the bigger story. You can also use items such as these to help you form your lines.
2. Lighting for Instagram Flatlays
There aren’t any rules to lighting a flatlay because it really depends on the style of photography that you are going for.
If you are wanting dark and moody, then, by all means, incorporate lots of shadows and darker tones.
However, most of the flatlays on Instagram on Pinterest tend to be quite light and bright.
That is not to say that you can’t use shadows in the brighter images, you just need to soften them.
A good way to do this is to use a diffuser if you are using studio lighting or to shoot earlier in the morning if you are using natural.
Shadows tend to add a nice dimension to flatlays so it is completely up to you to experiment with how to use them.
3. plan your Instagram Flatlay in advance
If you fail to plan, you plan to fail.
When you go to take your flatlay photograph, you’ll want to have all your props and backgrounds ready to go.
If you are taking your own flatlay photographs for Instagram, then you might as well take a few images so that you have a good content library to choose from.
A good way to plan is to:
a) list down the props
Think about the look and feel of your photo. What props will complement the moon and tone of voice you are trying to convey? What colours match the product or branding colours. You want to compliment, not overpower.
If you are shooting a planner, good filler props would be pens, paper clips, glasses, coffee, laptops or electronics etc – you get the idea.
If you are shooting a watch, props such as flowers, jewellery, marble trays etc would work great.
Will you need to source your props? where from? Have you budgeted for them? How long will shipping take? These are just a few things to think about in terms of prop planning.
b) list down the backgrounds
White/marble always work great for flatlays.
As an addition to this, a softer flat colour in the brand colour also works really well. For example, if you are shooting an orange planner, a nice backdrop would be a subtle peachy colour as it is more neutral and subtle hence drawing your eye to the hero product.
c) list down the amount of flatlay photos you want to take
If you are taking five photos, you’ll want to plan out the props, lighting and backgrounds for each image. Think about the lines, and how you will style the props to compliment the hero product.
Doing all of this in advance will save you so much time!
I hope these tips help you to feel a bit more confident when it comes to shooting flatlays! Let me know by commenting on this post or tagging me on Instagram so I can see all your beautiful flatlay photographs!
If you want to learn more about product photography, check out this blog post here!

If you loved this post be sure to Pin it to Pinterest!


